【Flutter 3.0】Flutter我來了 - 萬用的ListView
寫程式真的是一條活到老學到老的不歸路啊…這次就來學學flutter 3.0吧,終於安裝的是完整的ARM64環境。要先學什麼好呢?就學萬用的ListView吧…聽說Apple Silicon M2的Macbook Air在台開買了,想買,但是…沒錢錢…農曆七月到了,彈首通靈少女的插曲,算是滿應景的吧?XD,同時也祝大家父親節 / 付清節快樂…
作業環境
| 項目 | 版本 |
|---|---|
| macOS | Big Sur 12.4 arm64 |
| OpenJDK | 18.0.1-Zulu arm64 |
| Dart SDK | 2.18.0 arm64 |
| Flutter SDK | 3.0.5 arm64 |
| Xcode | 13.4.1 arm64 |
| Android Studio | 2021.1.1 arm64 |
| Visual Studio Code | 1.69.2 arm64 |
最後呢,會長成這樣子
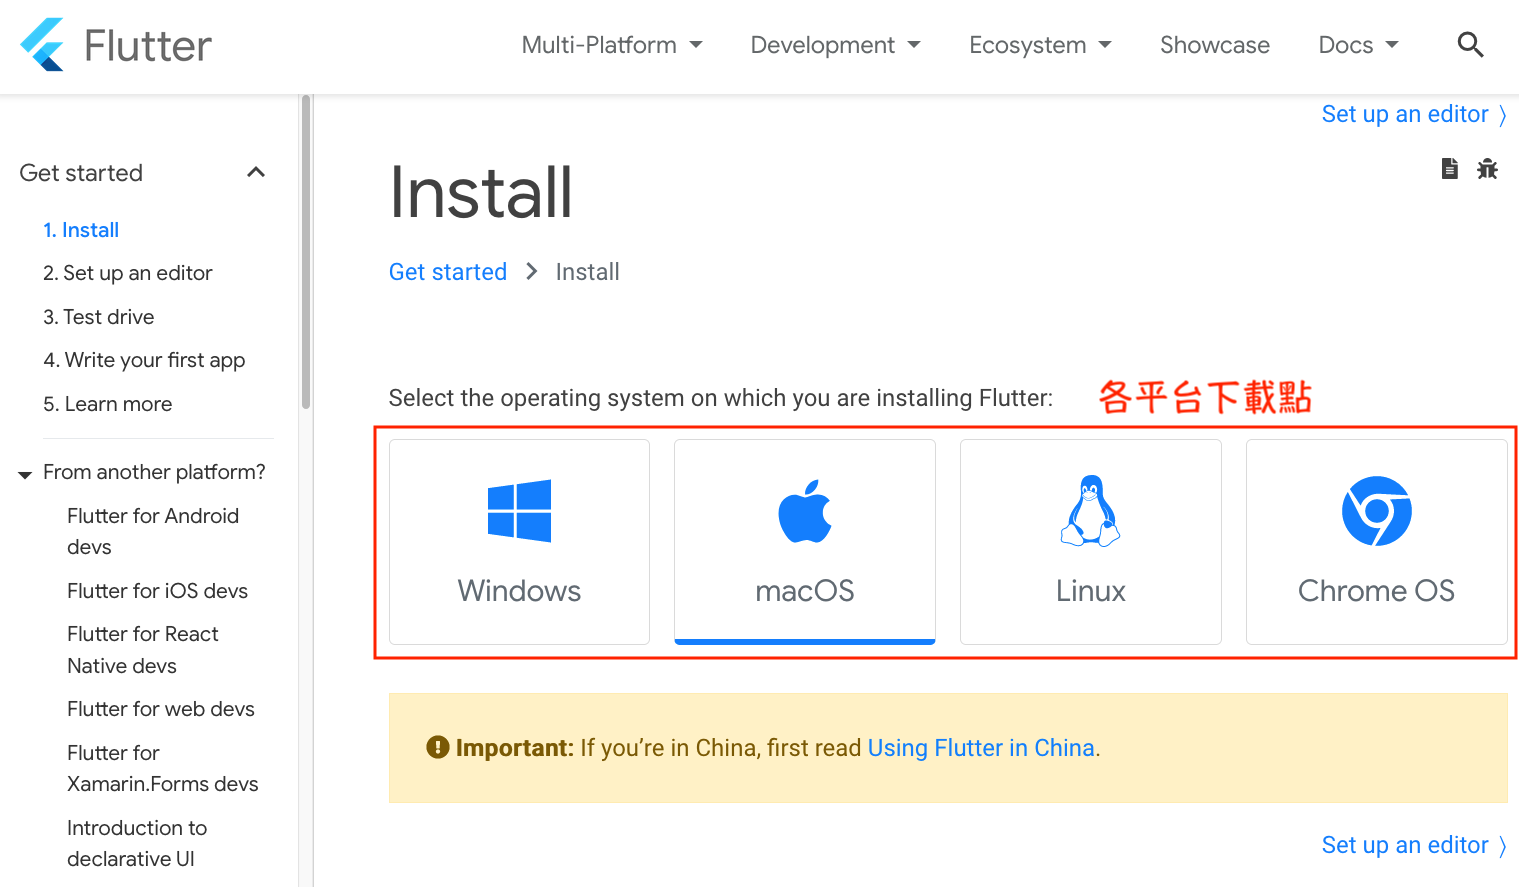
下載及安裝
-
官方下載點,比較要注意的是,macOS因為有Intel x64跟Apple Silicon - ARM64的版本,所以還是要看看自己的CPU的型號來下載。
-
解壓縮到~/Library之下…
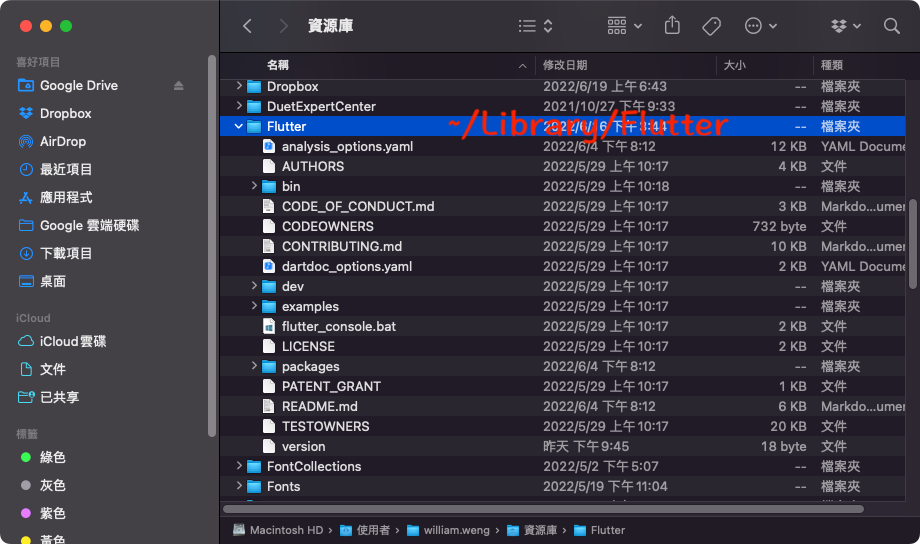
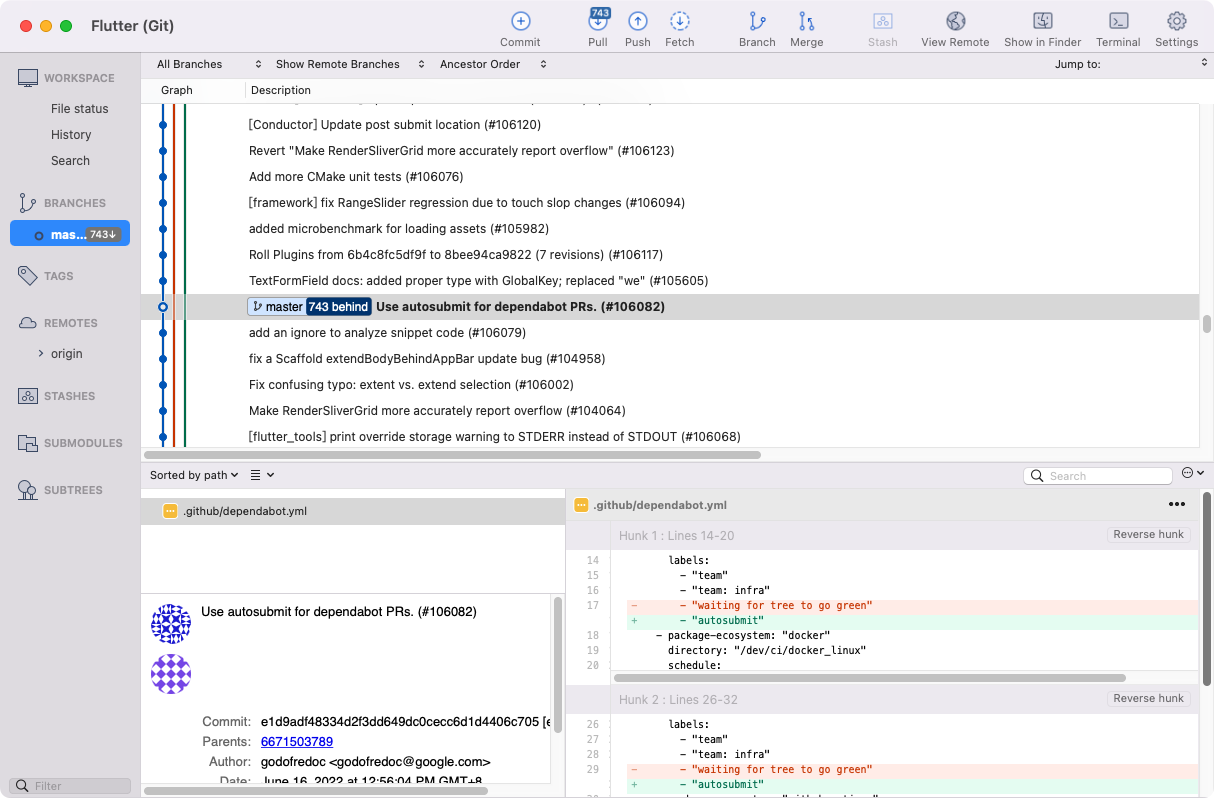
-
其實呢,Flutter就是一支用git管理的程式庫…
-
設定flutter執行檔的位置…

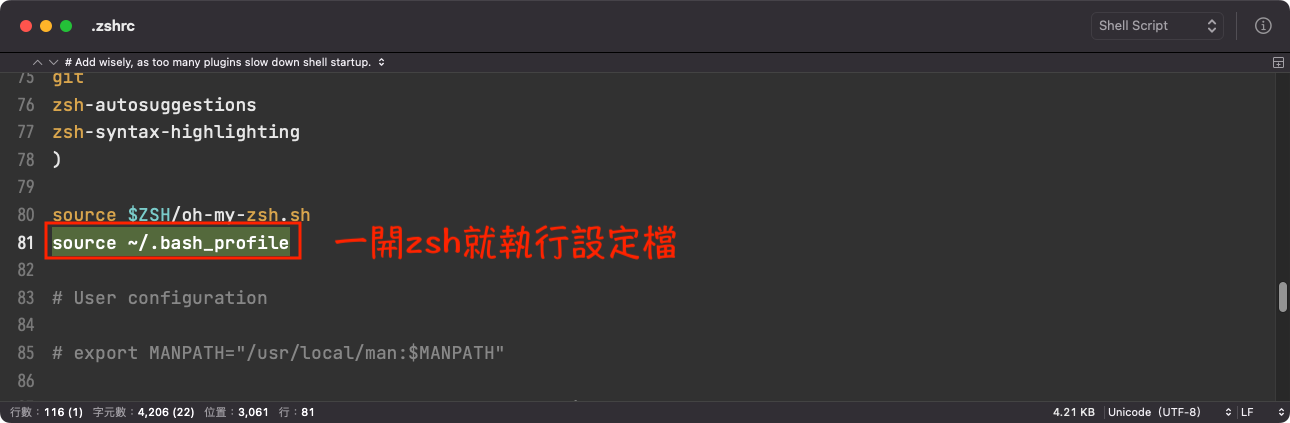
code ~/.bash_profile
export FLUTTER_SDK_HOME=~/Library/Flutter
export PATH=${PATH}:${FLUTTER_SDK_HOME}/bin
code ~/.zchrc
source ~/.bash_profile
- 執行flutter,看看能不能正確執行,然後該裝的裝一裝,更新到最新版本…
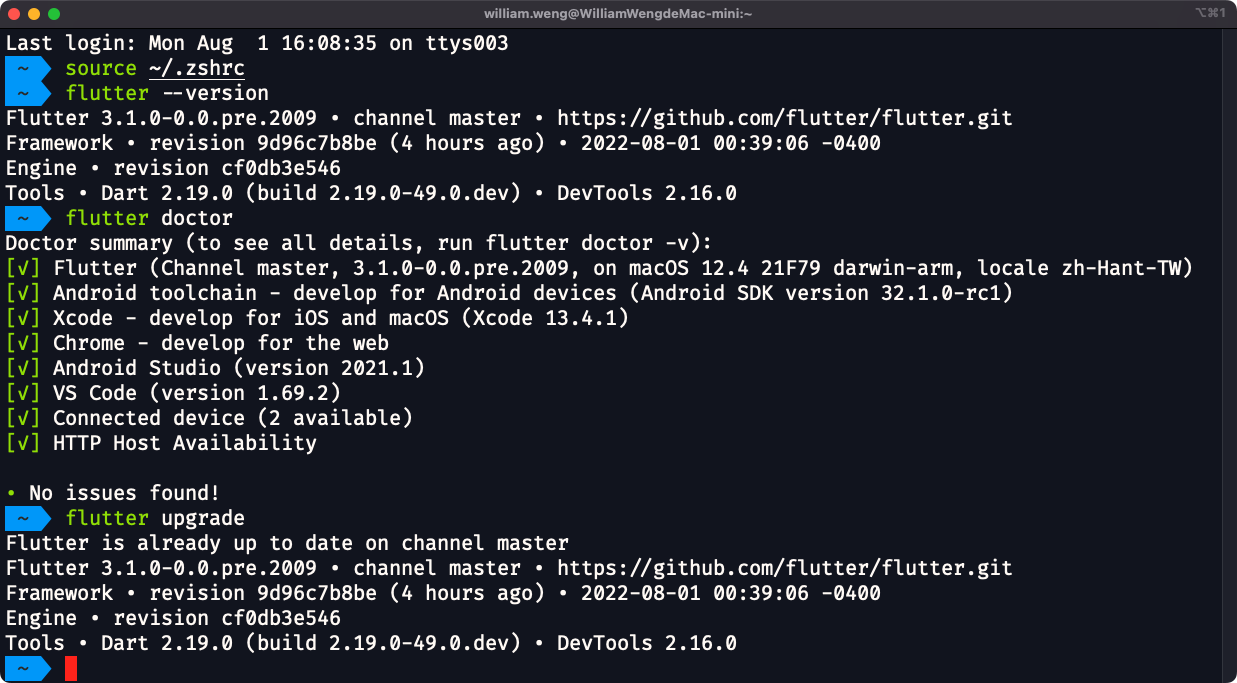
source ~/.zshrc
flutter --version
flutter doctor
flutter upgrade
Flutter生命週期
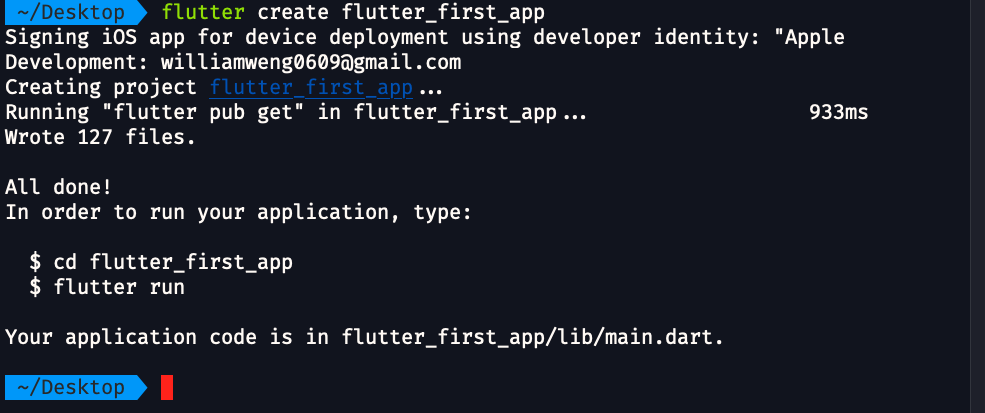
- 首先,建立一個新的Flutter專案,來監聽應用生命週期…
- 在影片中,也一同展示一下Flutter在VSCode基本的起動方式…
flutter create flutter_first_app
// main.dart
import 'package:flutter/material.dart';
import 'package:flutter_first_app/page/homePage.dart';

void main() {
  runApp(const MyApp());
}

class MyApp extends StatelessWidget {
  const MyApp({super.key});

  @override
  Widget build(BuildContext context) {
    return const MaterialApp(
      title: '生命週期',
      debugShowCheckedModeBanner: false,
      home: HomePage(title: '<生命週期>'),
    );
  }
}
// page/homePage.dart
import 'dart:developer';
import 'package:flutter/material.dart';
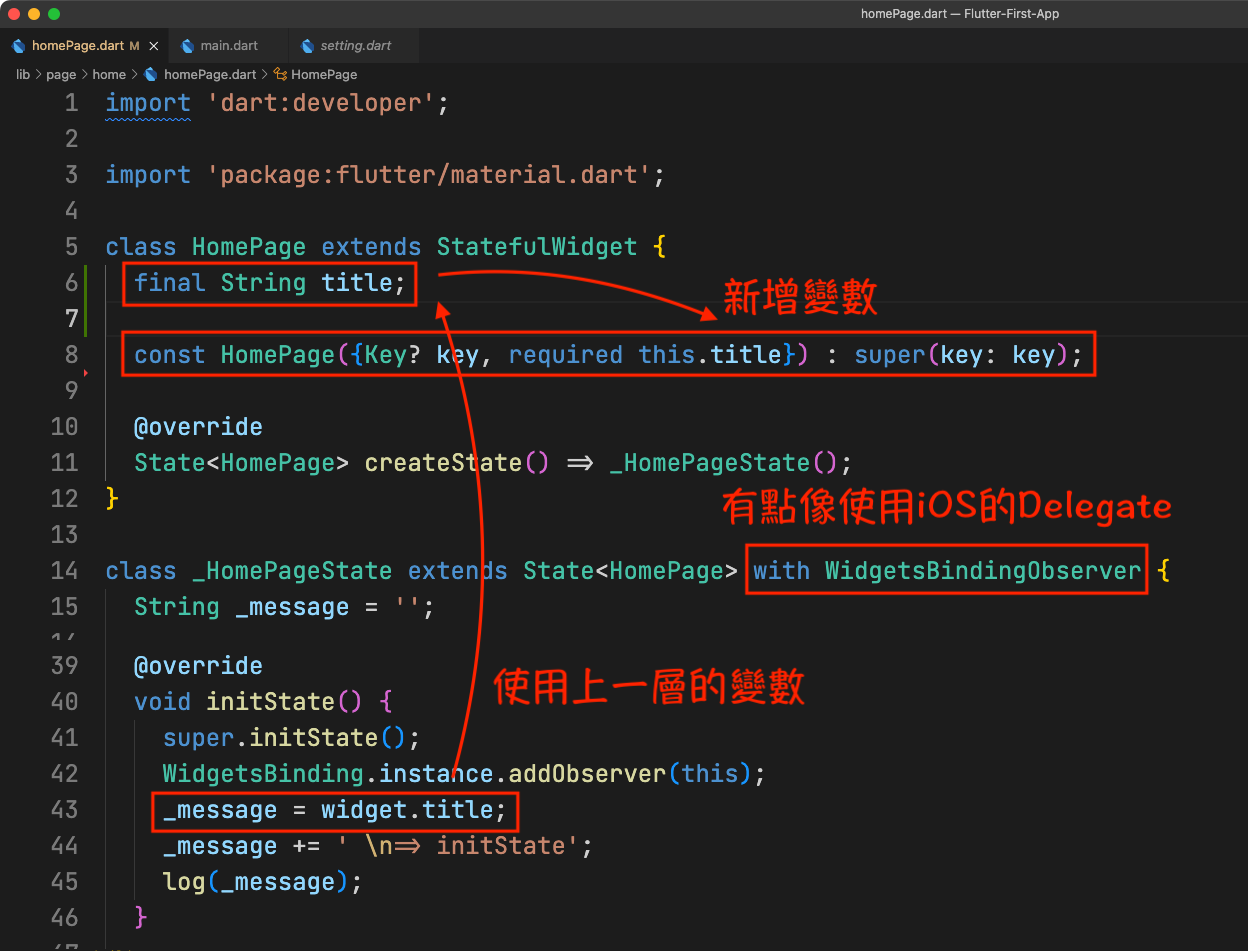
class HomePage extends StatefulWidget {
const HomePage({super.key, required this.title});
final String title;
@override
State<HomePage> createState() => _HomePageState();
}
class _HomePageState extends State<HomePage> with WidgetsBindingObserver {
String _message = '';
@override
void didChangeAppLifecycleState(AppLifecycleState state) {
super.didChangeAppLifecycleState(state);
switch (state) {
case AppLifecycleState.detached:
_message += ' \n=> detached';
break;
case AppLifecycleState.inactive:
_message += ' \n=> inactive';
break;
case AppLifecycleState.paused:
_message += ' \n=> paused';
break;
case AppLifecycleState.resumed:
_message += ' \n=> resumed';
break;
}
log(_message);
}
@override
void initState() {
super.initState();
WidgetsBinding.instance.addObserver(this);
_message = widget.title;
_message += ' \n=> initState';
log(_message);
}
@override
void dispose() {
super.dispose();
WidgetsBinding.instance.removeObserver(this);
_message += ' \n=> dispose';
log(_message);
}
@override
void deactivate() {
super.deactivate();
_message += ' \n=> deactivate';
log(_message);
}
@override
Widget build(BuildContext context) {
_message += ' \n=> build';
log(_message);
return Scaffold(
body: Padding(
padding: const EdgeInsets.only(top: 32.0),
child: Text(
_message,
textAlign: TextAlign.left,
style: const TextStyle(
fontSize: 36,
),
),
),
);
}
}
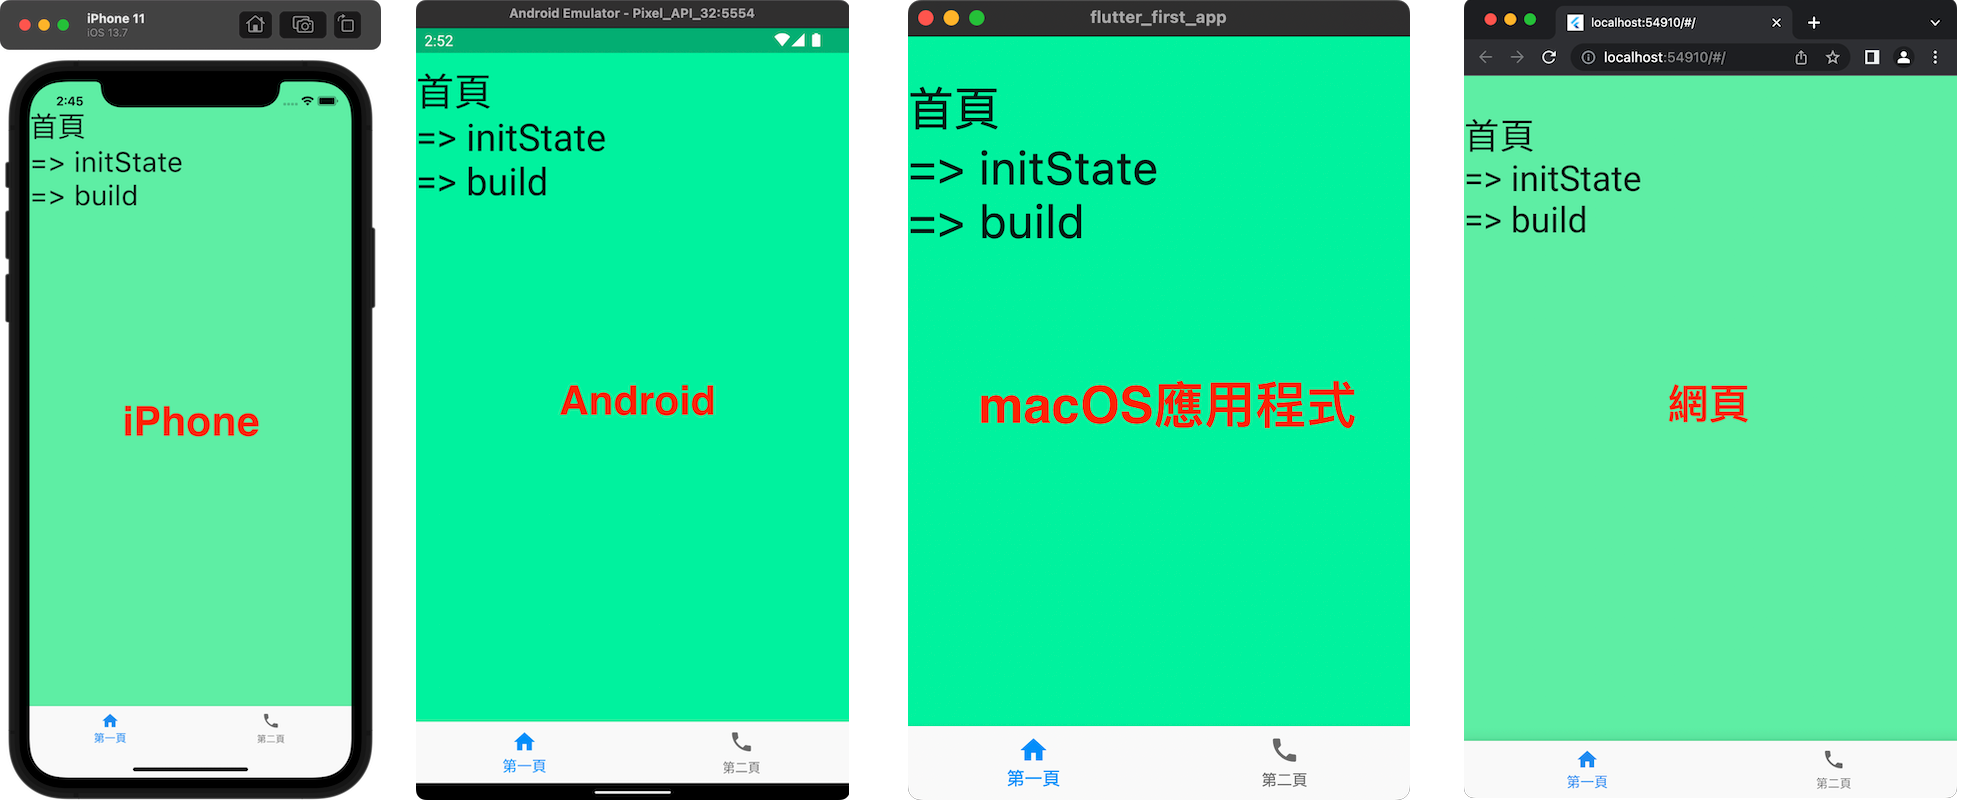
- 不免俗的,還是要來比較一下,iOS / Android / Flutter,這三者的生命週期,但就不細說了…
BottomNavigationBar
- 在iOS就是使用UITabBarController…
- 但在flutter是跟Scaffold一起的,它有點像iOS的UIViewController…
- 其實程式不難,看看下面的程式碼…
import 'package:flutter/material.dart';

import '../page/home/homePage.dart';
import '../page/profile/profilePage.dart';

class MainPage extends StatefulWidget {
  const MainPage({Key? key}) : super(key: key);

  @override
  State<MainPage> createState() => _MainPageState();
}

class _MainPageState extends State<MainPage> {
  int _selectedIndex = 0;

  final List<Widget> _tabs = [
    const HomePage(title: '<首頁>'),
    const ProfilePage(title: '<次頁>'),
  ];

  final items = [
    const BottomNavigationBarItem(icon: Icon(Icons.home), label: '第一頁'),
    const BottomNavigationBarItem(icon: Icon(Icons.phone), label: '第二頁'),
  ];

  @override
  Widget build(BuildContext context) {
    return Scaffold(
      body: _tabs.elementAt(_selectedIndex),
      bottomNavigationBar: BottomNavigationBar(
        items: items,
        onTap: ((index) {
          setState(() {
            _selectedIndex = index;
          });
        }),
      ),
    );
  }
}
- 然後我們使用class整理一下…
- 其中onTap就是指『點下去』的意思,滿像網頁的寫法…
- currentIndex就是現在點在哪一個上面…
- 再來就是setState(),這個很重要,如果有需要有畫面狀態變化的話,就要寫在裡面…
import 'package:flutter/material.dart';

class BottomNavigationBarItemModel {
  BottomNavigationBarItem item;
  Widget body;

  BottomNavigationBarItemModel({required this.item, required this.body});
}
import 'package:flutter/material.dart';

import '/page/home/homePage.dart';
import '/page/profile/profilePage.dart';
import '/utility/model.dart';

// MARK: - TabBar的資訊
final List<BottomNavigationBarItemModel> tabBarItems = [
  BottomNavigationBarItemModel(
    item: const BottomNavigationBarItem(icon: Icon(Icons.home), label: '第一頁'),
    body: const HomePage(
      title: 'Home',
    ),
  ),
  BottomNavigationBarItemModel(
    item: const BottomNavigationBarItem(icon: Icon(Icons.home), label: '第二頁'),
    body: const ProfilePage(
      title: 'Profile',
    ),
  ),
];
import 'package:flutter/material.dart';
import '/utility/setting.dart';

class MainPage extends StatefulWidget {
  const MainPage({Key? key}) : super(key: key);

  @override
  State<MainPage> createState() => _MainPageState();
}

class _MainPageState extends State<MainPage> {
  int _selectedIndex = 0;

  final List<BottomNavigationBarItem> _items = tabBarItems.map((model) {
    return model.item;
  }).toList();

  final List<Widget> _bodies = tabBarItems.map((model) {
    return model.body;
  }).toList();

  @override
  Widget build(BuildContext context) {
    return Scaffold(
      body: _bodies.elementAt(_selectedIndex),
      bottomNavigationBar: BottomNavigationBar(
        items: _items,
        selectedItemColor: Colors.blueAccent,
        currentIndex: _selectedIndex,
        onTap: ((index) {
          setState(() {
            _selectedIndex = index;
          });
        }),
      ),
    );
  }
}
列表 - ListView
- ListView,就是iOS萬用的UITableView,只要會了它,工作上80%的問題的都可以處理,不虧為手機界的巨星啊…
- 在使用上呢,跟iOS的UITableView很相像:數量 - itemCount / 長相 - itemBuilder / 高度 - itemExtent…
- 不過呢,在這裡可以看出,iOS跟Android在處理UI上的差異,iOS在滑到頭尾的時候,有動態的回饋,就是有回彈的效果,但Android則是有光影的提示,這也造成後面處理上的問題…
import 'package:flutter/material.dart';

class ProfilePage extends StatefulWidget {
  final String title;
  const ProfilePage({Key? key, required this.title}) : super(key: key);

  @override
  State<ProfilePage> createState() => _ProfilePageState();
}

class _ProfilePageState extends State<ProfilePage> {
  @override
  Widget build(BuildContext context) {
    return Scaffold(
        backgroundColor: Colors.amber.shade100,
        body: ListView.builder(
          itemExtent: 64,
          itemCount: 100,
          itemBuilder: ((context, index) {
            return Card(
              child: ListTile(
                title: Text('$index'),
              ),
            );
          }),
        ),
      );
  }
}
標題列 - AppBar
- 再來就介紹標題列 - AppBar,就是iOS - UINavigationBar…
- 這個的長相呢,就會跟據各手機的不同而有所不同,像iPhone的瀏海,Android的挖孔等…
- 做到了這裡,會發現就算把AppBar變透明,ListView還是穿不過去,要加上extendBodyBehindAppBar: true,這個設定才可以…
- 同理,BottomNavigationBar也是穿不過去的,要加上extendBody: true才行…
- 在這裡可以使用UI Debug工具 - Widget Inspector來看看設定前後的差異…
class _ProfilePageState extends State<ProfilePage> {
  @override
  Widget build(BuildContext context) {
    return Scaffold(
        appBar: AppBar(
          title: const Text(
            'ListView',
            style: TextStyle(color: Colors.black),
          ),
          centerTitle: true,
          backgroundColor: Colors.transparent,
          elevation: 0,
        ),
        extendBodyBehindAppBar: true,
        backgroundColor: Colors.amber.shade100,
        body: ListView.builder(
          itemExtent: 64,
          itemCount: 100,
          itemBuilder: ((context, index) {
            return Card(
              child: ListTile(
                title: Text('$index'),
              ),
            );
          }),
        ),
      );
  }
}
class _MainPageState extends State<MainPage> {
  int _selectedIndex = 0;

  final List<BottomNavigationBarItem> _items = tabBarItems.map((model) {
    return model.item;
  }).toList();

  final List<Widget> _bodies = tabBarItems.map((model) {
    return model.body;
  }).toList();

  @override
  Widget build(BuildContext context) {
    return Scaffold(
      body: _bodies.elementAt(_selectedIndex),
      extendBody: true,
      bottomNavigationBar: BottomNavigationBar(
        items: _items,
        selectedItemColor: Colors.blueAccent,
        backgroundColor: Colors.transparent,
        elevation: 0,
        currentIndex: _selectedIndex,
        onTap: ((index) {
          setState(() {
            _selectedIndex = index;
          });
        }),
      ),
    );
  }
}
範例程式碼下載
後記
- 其實真的寫起來滿累的,除了Dart的語法不太懂之外,加上Widget上的元件也不是很了解,簡單的ListView居然要寫五天…又加上平常都是使用Storyboard / Xib,有畫面的UI設定,純Code寫畫面對我來說,真的是太難了啊…
- 下一篇,會以ListView做一個比較深入的範例,畢竟介紹單一元件很單純,但組合起來就難了…